Set a Description for a Resource
Magenta Health
Setting a description for a resource (e.g. a tutor, clinician, etc...) can be helpful to give your customers more information when asked to select between multiple resources.
For example, use this feature to display your resources' credentials, training, and formal education.
Instructions
1. Select the Setup Services button in the main navigation bar.

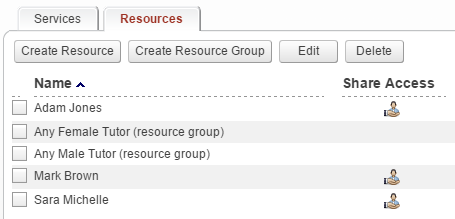
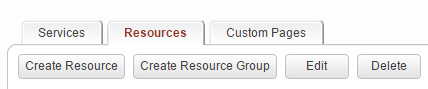
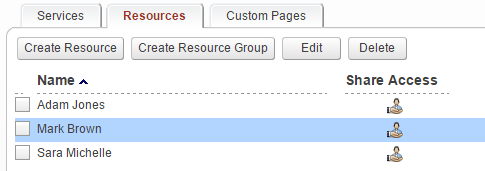
2. Select the Resources tab.

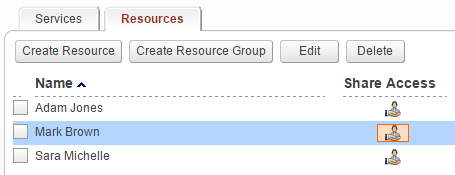
3. Select the resource for which you want to set or update this feature.

4. Set a description for this resource.
Remember to save your changes.

5. When customers are presented the option of selecting between resources (e.g. therapists, equipment), customers can view the description that you have set for each resource.