View and Manage Registrations
Magenta Health
There are two ways to view registrations within Veribook:
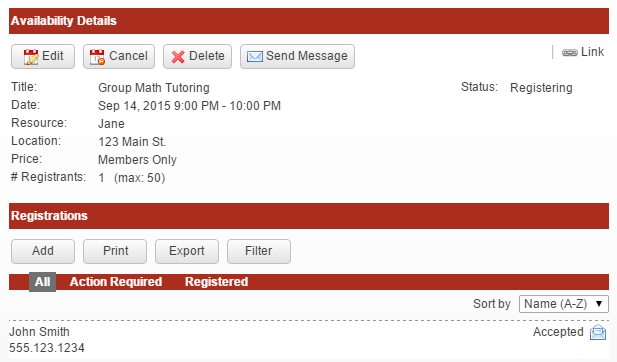
View Registrations for a Specific Event
1. Select the Registrations button in the main navigation bar.

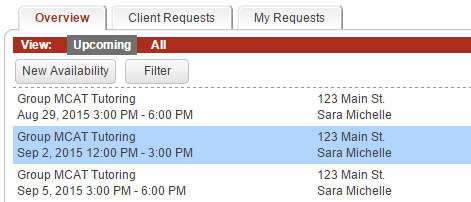
2. Select the Overview tab.

3. A list of your upcoming events will be displayed by default.
Chose the All view to see past events as well.

4. Click on an event to see an overview of that event, including a list of individuals who have registered.
You'll also be able to:
manage individual registrations;
send messages to some or all registrants;
edit the event details, such as when to accept registrations;
cancel the event;

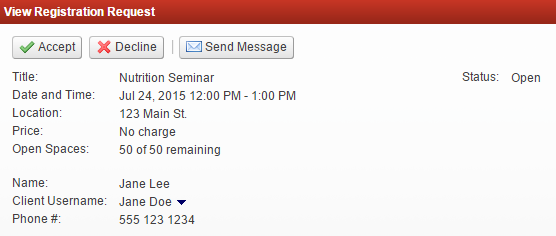
View All Registrations
1. Select the Registrations button in the main navigation bar.

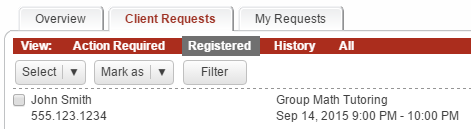
2. Select the Client Requests tab.
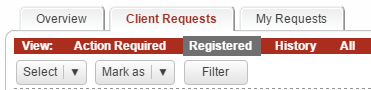
3. Registration requests that require attention will be displayed by default.
Choose the Registered view to see only registrations that have been accepted.
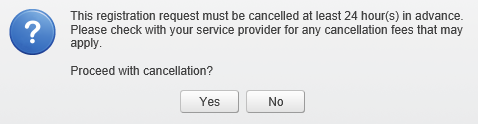
4. Click on a registration to see more details, send a message, or cancel the registration.