View Bookings and Appointment Requests
Magenta Health
There are two ways to view bookings and appointment requests within Veribook:
When viewing bookings as a list, the following features are available:
When viewing bookings within a calendar, the following features are available:
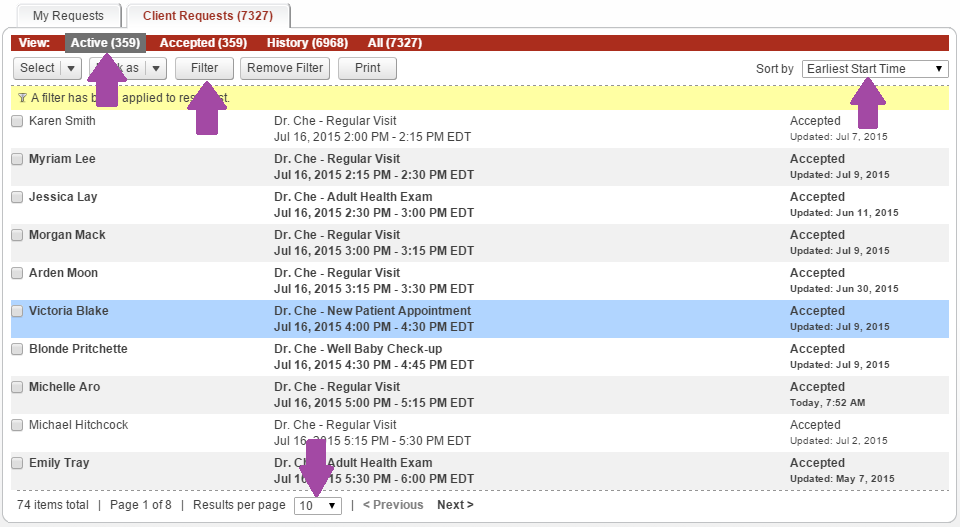
View Bookings as a List
1. Select the Bookings button in the main navigation bar.

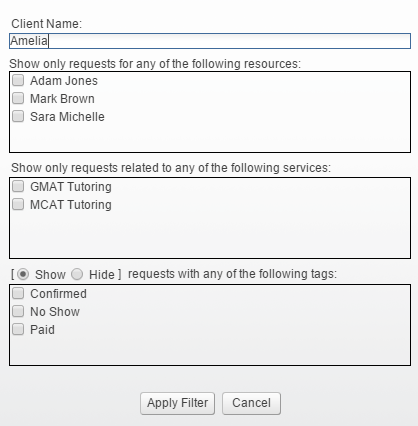
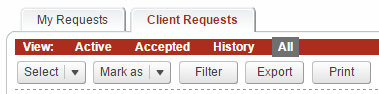
2. Select the Client Requests tab.
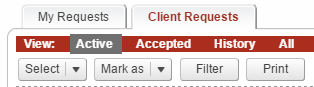
3. A list of your bookings will be presented.
Click on a particular booking to view or modify it.

View Bookings within a Calendar
1. Select the Calendar button in the main navigation bar.

2. Select the Bookings tab.

3. Select one of the existing resources.
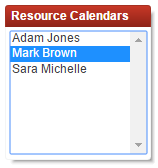
4. The bookings for this resource will be presented within a calendar.
Double-click on a particular booking to view or modify it.